
How to Choose Custom Packaging for Your Product
Choosing the right custom packaging involves balancing product protection, brand presentation, budget, and logistics. This guide walks you through the decision process step by step, from identifying your requirements to preparing artwork files for production.
Step 1: Define Your Product Protection Needs
Start with what your packaging actually needs to do. Ask these questions:
- Is the product fragile (glass, ceramics, electronics)?
- Is it sensitive to moisture, light, or temperature?
- How heavy is it? What compression strength does the box need?
- Will it ship via ground, air, or both?
- Does it need tamper-evident or child-resistant features?
Fragile products need corrugated or rigid packaging with foam inserts. Lightweight soft goods can go in a mailer box or poly mailer. Food products need food-safe materials with appropriate barrier properties.
Step 2: Align with Your Brand Identity
Your packaging communicates your brand before the customer sees the product. Consider:
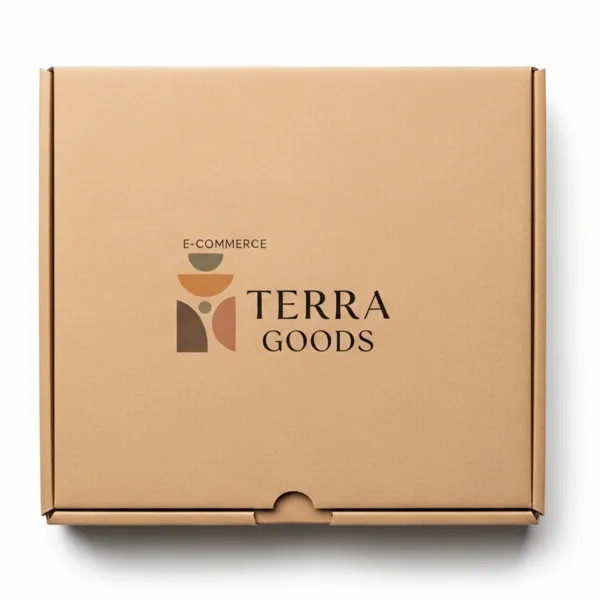
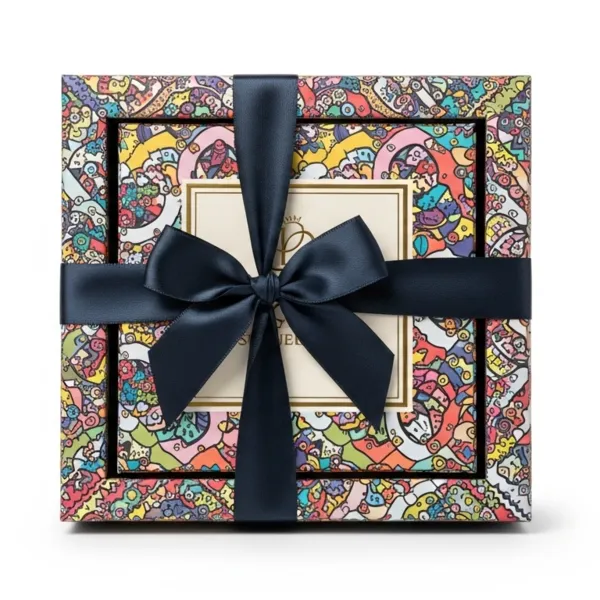
- Price positioning: Luxury brands use rigid boxes, foil stamping, and soft-touch finishes. Value brands use kraft and clean, minimal printing.
- Sustainability story: If eco-consciousness is part of your brand, use kraft, recycled board, and call out FSC certification on the package.
- Unboxing experience: Direct-to-consumer brands benefit from interior printing, tissue paper, and insert cards. Retail products focus on exterior shelf impact.
- Color and typography: Match your packaging Pantone colors to your brand guidelines. Consistency across web, product, and packaging builds recognition.
Step 3: Set Your Budget
Packaging costs vary widely based on material, structure, printing, and finishing. General ranges per unit:
- Plain kraft mailer box: $0.50-1.50
- Printed corrugated mailer: $1.20-3.00
- Printed folding carton: $0.40-2.00
- Rigid box with lid: $3.00-12.00
- Rigid box with magnetic closure: $5.00-15.00
These ranges assume quantities of 100-500 units. Pricing improves significantly at 1,000+ units. Teal Packaging has no minimum order quantity, so you can start small and scale up.
Step 4: Choose Your Material
- Kraft paperboard: Natural brown, eco-friendly, good for minimalist designs. 300-400gsm.
- SBS (Solid Bleached Sulfate): White, smooth, excellent for vibrant printing. 14pt-18pt. The standard for retail folding cartons.
- Corrugated (E-flute): Lightweight with built-in cushioning. Best for mailer boxes and shipping packaging.
- Corrugated (B or C-flute): Thicker, stronger. For heavy products and shipping boxes.
- Rigid greyboard (2mm): Premium weight and feel. For luxury products and gift packaging.
Step 5: Consider MOQ and Lead Time
Most packaging suppliers require minimum orders of 500-1,000 units. If you are launching a new product, testing a design, or running a small business, this can be a barrier.
Teal Packaging has no minimum order quantity. Order 25 boxes to test your packaging concept, then scale up once you are confident in the design. Standard production is 7 business days with free shipping.
Step 6: Prepare Your Design Files
For the smoothest production process, prepare your artwork files following these guidelines:
- File format: Adobe Illustrator (.ai) or PDF with fonts outlined
- Color mode: CMYK (not RGB)
- Resolution: 300 DPI minimum for all images and graphics
- Bleed: 3mm (0.125 inches) bleed on all sides that extend to the edge
- Safe zone: Keep important text and logos at least 5mm from trim lines
Do not have a designer? Teal Packaging provides free dieline creation and design support with every order. Send us your logo, brand colors, and a rough description of what you want, and our team will create a print-ready layout for your approval.
Matching Packaging Construction to Your Distribution Channel
Your distribution channel shapes packaging requirements in ways that are not always obvious. A product sold exclusively through your own website faces completely different packaging demands than the same product sold through retail boutiques or major department stores. Making packaging decisions without considering channel requirements leads to expensive redesigns when your distribution inevitably evolves.
Direct-to-consumer packaging must survive the carrier delivery system intact. Multiple handoffs between sortation facilities, delivery vehicles, and the final carrier create vibration and impact opportunities. Your packaging must protect products through conditions that retail shelving never imposes. Test your D2C packaging by simulating transit conditions: drop tests, compression tests, and vibration exposure that replicate what packages actually experience during delivery.
Retail packaging must function as a silent salesperson on shelves competing for attention against dozens of alternatives. Visual hierarchy becomes critical when your package sits among lookalike competitors. Retail buyers make shelf placement decisions in seconds based on packaging that communicates value, differentiates from adjacent products, and conveys quality appropriate to its price point. Consider how your packaging photographs in retail environments under mixed lighting conditions.
Wholesale and distribution channels introduce additional handling requirements. Pallets of product stacked in warehouses, loading docks with minimal care for individual packages, and the vibration of freight transport all impose stresses beyond typical retail or D2C scenarios. Wholesale packaging often requires master pack configurations that protect product during bulk handling before individual units reach their final destination.
Multi-channel sellers need packaging flexible enough to work across all their distribution methods. This often means building to the highest common denominator of protection while finding design approaches that do not impose unnecessary costs for simpler channels. A rigid two-piece box works for retail but may be overkill for D2C shipments where interior protection is already adequate. Explore our shipping boxes for heavy-duty options and gift boxes for retail-ready presentations.
Understanding Material Specifications and What They Actually Mean
Packaging material specifications use technical terminology that can obscure practical implications. Understanding what these specifications mean for your actual use case prevents choosing materials that look good on paper but fail in real-world conditions. The goal is matching technical properties to your product's actual requirements.
Board caliper (thickness) determines compression strength and durability. A 0.080 inch E-flute board provides different protection than 0.100 inch board even if both are described as "standard corrugated." For lightweight products, thinner board may provide adequate protection while reducing material costs and dimensional weight. For heavy items, thicker board prevents crushing during stacking and shipping. Match board specifications to your actual product weight and stacking expectations.
Burst strength and edge crush test (ECT) measure different aspects of corrugated performance. Burst strength measures resistance to puncture and tearing forces. ECT measures stacking compression resistance. A box with high burst strength may still crush under its own weight when stacked. Understanding which performance metric matters for your specific scenario prevents choosing materials optimized for the wrong property. Ask your supplier to recommend specifications based on your product and distribution channel.
Paper weight for folding cartons and other materials follows different measurement conventions. GSM (grams per square meter) provides a consistent measure across paper types, while point (pt) measurements vary by material. Understanding these conversions lets you compare specifications across suppliers using different conventions. A 14pt SBS board is approximately 250gsm, while 18pt is around 270gsm. Your supplier should provide guidance when specifications use unfamiliar measurement systems.
Navigating the Custom Packaging Quote Process Efficiently
The custom packaging quote process can feel opaque and time-consuming, especially for first-time buyers unfamiliar with industry conventions. Streamlining your approach to requesting quotes gets you better information faster and positions you for smoother production runs once you are ready to order.
Prepare complete specifications before requesting quotes. The information you should have ready includes: exact product dimensions in final packed configuration, estimated order quantity with any anticipated growth over the next 12 months, preferred materials if you have them, printing requirements including full color or spot colors, finishing options you are considering, and your timeline from order to when you need packaging in hand. Incomplete specifications mean suppliers must make assumptions that may not match your actual needs.
Ask for line-item quotes rather than single total prices. Understanding how costs break down across materials, printing, setup, finishing, and shipping reveals opportunities to optimize. A quote showing $0.80 per unit for materials and $200 setup versus $0.65 per unit and $350 setup helps you evaluate whether different quantities or specifications would improve your economics. Hidden costs revealed in line-item breakdowns prevent surprises.
Request samples from any supplier you are seriously considering. Physical evaluation catches issues that quotes and specifications cannot reveal. Examine print quality, color accuracy, material feel, and construction quality. Request samples of comparable work the supplier has produced for other clients in your category. A supplier confident in their work provides samples without hesitation.
Establish clear communication channels and response time expectations before placing orders. Understanding who your point of contact will be, how quickly they respond to questions, and what happens if problems arise during production prevents frustration when issues inevitably develop. Professional suppliers welcome these conversations upfront rather than during emergencies.
Frequently Asked Questions
How do I know if I need corrugated versus folding carton packaging?
Corrugated packaging provides superior protection for shipping-heavy scenarios including all D2C shipments, wholesale distribution, and any situation where packages undergo significant handling. Folding cartons work for retail-ready products that ship primarily through retail channels where handling is minimal. If your product will be shipped at all, corrugated is typically the safer choice. If your product is exclusively retail-delivered with minimal transit, folding cartons may suffice and offer cleaner aesthetics for shelf presentation.
What is the difference between CMYK and Pantone color printing?
CMYK (cyan, magenta, yellow, black) printing mixes four process colors to create full-color imagery. This approach works for photographic images and complex gradients but may produce slight color variations between print runs. Pantone spot colors are pre-mixed to specific formulas and provide precise color matching across runs. For brand colors that must match exactly every time, Pantone spot colors are preferable. For photographic imagery or designs where slight variation is acceptable, CMYK provides more flexibility and lower cost.
Can I get packaging that matches my brand colors exactly?
Pantone spot color printing provides the closest possible color matching to specific brand colors. When you need colors to match exactly across all materials and print runs, specify Pantone color numbers and ask your supplier to match to those swatches. CMYK full-color printing achieves close approximations but cannot guarantee exact matches, particularly for specialty colors outside the CMYK gamut. For luxury or high-end products where color accuracy is critical, invest in Pantone spot color printing.
What finishing options are available and when should I use them?
Matte lamination provides a subtle, sophisticated appearance that works across most product categories. Gloss lamination creates visual pop and enhanced color vibrancy but shows fingerprints more readily. Soft-touch lamination creates a velvety texture associated with luxury products. Spot UV applies high-gloss coating to specific design elements creating contrast and visual interest. Foil stamping adds metallic or pigmented foil to specific text or graphics for premium presentation. Choose finishes that align with your brand positioning and price point.
How do I prevent my packaging from looking amateurish despite limited design budget?
Professional results depend more on print-readiness and file preparation than on design complexity. Even simple designs look polished when produced with proper bleed, appropriate resolution, and correct color mode. Using your supplier's dieline templates ensures proper sizing and safety margins. Working with a supplier who reviews artwork before production catches amateur mistakes before they become expensive problems. Clean, simple designs executed professionally consistently outperform complex amateur designs that lack proper technical preparation.
